

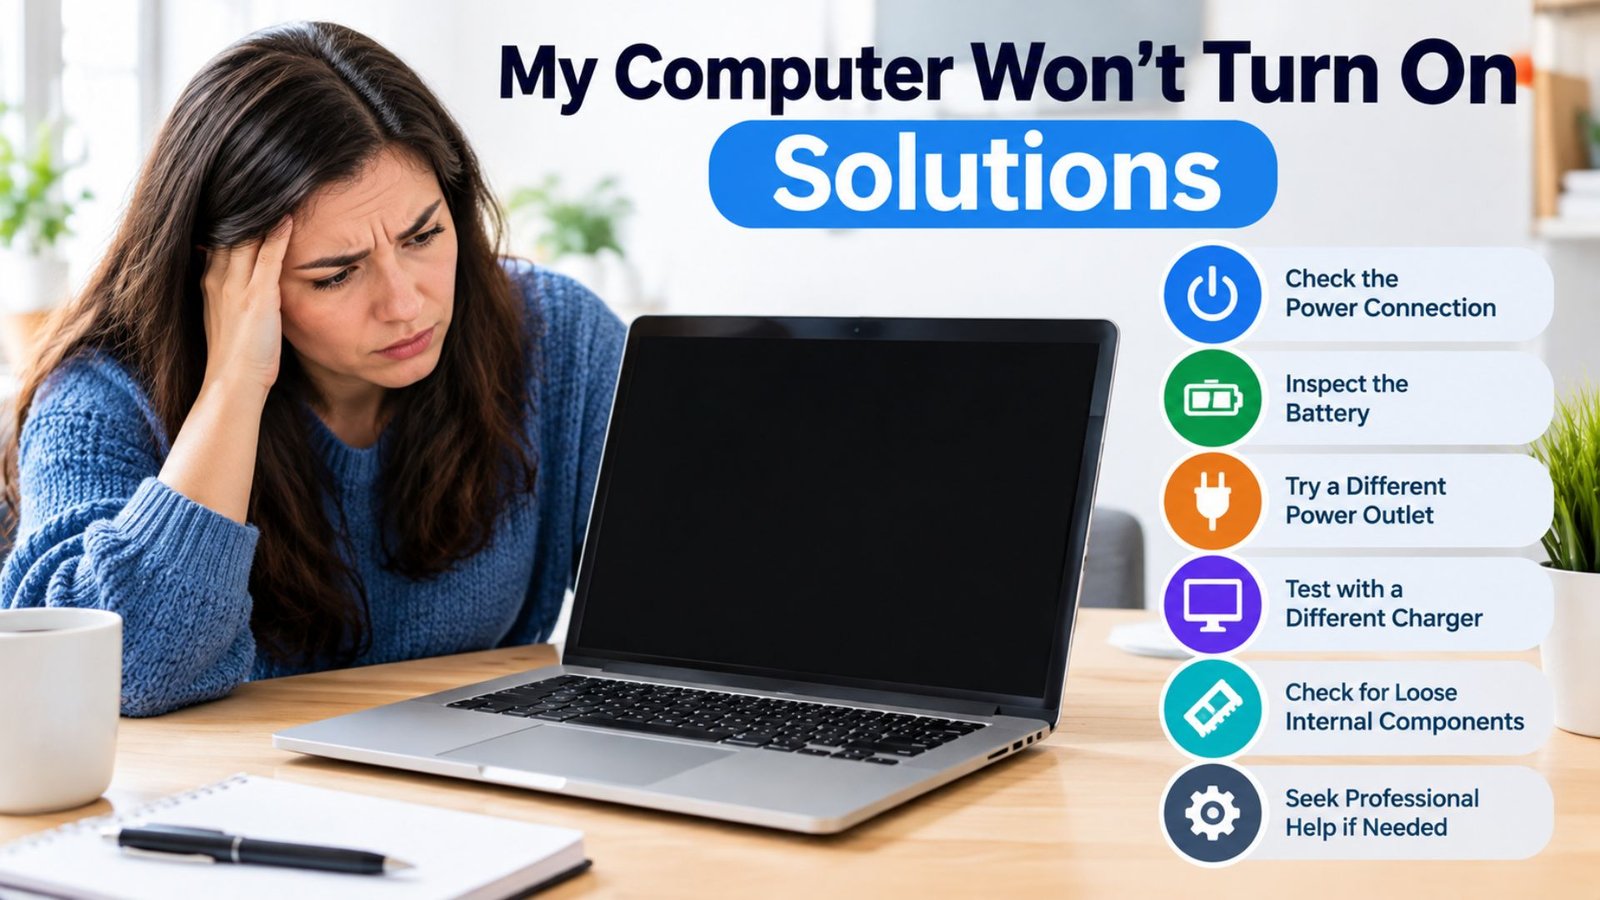
There are few things more frustrating than pressing your computer’s power button and getting absolutely nothing. No lights, no fans, no display—just silence. If you’re dealing with the problem “my computer won’t turn on solutions,” the good news is that a completely dead computer does not automatically mean the machine needs expensive repairs.
In many cases, the cause is surprisingly simple: a loose power cable, a switched-off power strip, a drained laptop battery, or a faulty charger. Other problems, such as a failing power supply, damaged motherboard, or defective RAM, require more careful troubleshooting.
The key is to diagnose the problem in the right order. Start with the simplest possibilities before opening the computer or replacing components. This guide walks you through practical steps for both desktop computers and laptops, explains what different symptoms mean, and highlights several troubleshooting details that are easy to overlook.
First, Identify What “Won’t Turn On” Actually Means
Before trying solutions, determine what happens when you press the power button.
There are several different situations:
- Absolutely nothing happens: No lights, fans, sounds, or vibration.
- Lights appear but the computer does not start: The system may have power but fail during startup.
- Fans spin but there is no display: The computer may be running, but the display, RAM, graphics hardware, or boot process could be the problem.
- The computer starts and immediately shuts off: This can indicate a power, overheating, component, or motherboard issue.
- A laptop shows a charging light but won’t start: The battery, charger, power circuitry, or internal hardware may be involved.
This distinction matters because “won’t turn on” can describe several completely different problems.
1. Check the Power Connection First
If your computer shows no sign of life, begin with the power source.
For a desktop:
- Make sure the power cable is firmly connected to the computer.
- Check that the other end is securely plugged into the wall or power strip.
- If you use a surge protector or extension, make sure its switch is on.
- Try another wall outlet.
- Check the switch on the back of the desktop power supply.
For a laptop:
- Connect the charger directly to a wall outlet.
- Check whether the charging indicator appears.
- Make sure the charging connector is fully inserted.
- If possible, inspect the cable for obvious physical damage.
A useful real-world troubleshooting habit is to remove the power strip from the equation. Plugging the computer directly into a known-working wall outlet can quickly eliminate one entire category of possible problems.
2. Perform a Power Reset
A computer can sometimes become stuck in a strange low-power state. A power reset can clear that condition without deleting your files.
For a laptop with a removable battery
Shut the computer down if possible, unplug the charger, remove the battery, and hold the power button for around 15–30 seconds. Reconnect the battery and charger, then try starting it again.
For a laptop with an internal battery
Disconnect the charger and hold the power button for approximately 20–30 seconds. Then connect the charger again and attempt to start the laptop.
For a desktop
Turn off the power supply switch and unplug the computer. Hold the desktop’s power button for about 15–30 seconds. Reconnect the power cable, switch the power supply back on, and try again.
This procedure doesn’t reinstall Windows or erase personal files. It is essentially a way of removing residual electrical power and resetting certain hardware states.
3. Don’t Assume a Black Screen Means the Computer Is Dead
One of the most important troubleshooting distinctions is between a computer that isn’t powering on and a computer that powers on but isn’t displaying anything.
Press the power button and listen carefully.
Do you hear:
- Fans spinning?
- A startup sound?
- Hard-drive or SSD activity?
- Keyboard lights?
- Case LEDs?
- A change in fan speed?
If the fans run and indicator lights turn on, the computer may actually be starting.
In that situation, focus on the display instead.
Try:
- Increasing monitor brightness.
- Checking the monitor’s power.
- Selecting the correct monitor input.
- Reseating the HDMI or DisplayPort cable.
- Testing another display cable.
- Connecting the computer to another monitor or TV when appropriate.
For desktops with a dedicated graphics card, make sure the monitor cable is connected to the graphics card’s video output rather than an inactive motherboard video port when the system requires the dedicated GPU.
4. Disconnect Everything You Don’t Need
A surprisingly useful diagnostic step is to remove unnecessary peripherals.
Disconnect:
- USB drives
- External hard drives
- Printers
- USB hubs
- Memory card readers
- Game controllers
- Webcams
- Other unnecessary accessories
Then try powering on with only the essentials connected.
Why can this help? A malfunctioning USB device or peripheral can sometimes interfere with the startup process or power behavior. It is uncommon, but eliminating variables makes troubleshooting much easier.
A useful diagnostic trick
Don’t reconnect everything at once after the computer starts. Add devices back one at a time.
If the problem returns immediately after connecting a particular device, you’ve found a strong suspect.
5. Check the Laptop Charger and Charging Behavior
If your laptop doesn’t turn on, don’t automatically blame the battery.
The charger itself can fail, and some charging problems are caused by the connector or charging port.
Look for signs such as:
- No charging indicator when connected.
- Charger becoming unusually hot.
- A loose charging connector.
- Charging that repeatedly connects and disconnects.
- A damaged cable.
- The laptop working only when connected to AC power.
If you have access to a compatible, properly rated charger, testing it can help identify whether the original adapter is the problem.
Avoid using an incompatible charger simply because the connector fits. Voltage, current requirements, connector specifications, and charging standards matter.
6. If a Desktop Is Completely Dead, Consider the Power Supply
When a desktop computer produces absolutely no response after you’ve verified the outlet and cables, the power supply becomes an important suspect.
A failing PSU can cause:
- No power at all.
- Random shutdowns.
- Failed startup.
- Clicking or unusual electrical sounds.
- Fans briefly spinning and stopping.
Do not open the power supply itself. Power supplies can contain components that retain dangerous electrical charge even after being unplugged.
Instead, test the external connections and, if necessary, have the PSU professionally tested or replaced with a compatible unit.
Important insight: don’t replace the motherboard first
A dead motherboard can certainly cause a computer not to start, but it is often premature to assume the motherboard is responsible.
Power delivery should be checked before expensive internal components are replaced. Otherwise, you can spend money replacing a motherboard when the real problem was a PSU, cable, or outlet.
7. Reseat the RAM if the Computer Powers On but Doesn’t Boot
If your computer turns on but doesn’t display anything, RAM is another component worth investigating.
A desktop may power its fans and lights while failing to complete the initial hardware check.
If you’re comfortable working inside a desktop:
- Shut the computer down.
- Disconnect it from power.
- Press the power button briefly after unplugging it.
- Open the case.
- Remove and firmly reinstall the RAM modules.
- Try starting the computer again.
If there are multiple RAM sticks, testing them individually can help identify a defective module or problematic slot.
Safety note: If you aren’t comfortable opening the computer, don’t force yourself to do it. A repair technician can perform these checks safely.
8. Pay Attention to Beeps and Diagnostic Lights
Some computers provide clues before Windows ever loads.
Depending on the manufacturer and motherboard, you may see:
- Diagnostic LEDs.
- A numerical error display.
- Beep patterns.
- Keyboard indicator behavior.
- Flashing power lights.
These signals can point toward problems involving RAM, CPU initialization, graphics hardware, or other components.
The exact meaning varies by manufacturer, so don’t assume that one beep pattern means the same thing on every computer.
If your system provides a diagnostic code, write it down before changing anything. That small detail can make professional troubleshooting considerably faster.
9. Check Whether the Computer Is Overheating or Shutting Down
Suppose the computer starts briefly and then switches off.
That is different from a completely dead machine.
Possible causes include:
- Excessive heat.
- A cooling fan problem.
- Power instability.
- A hardware fault.
- A poorly seated component.
- A protection shutdown.
If the computer recently became unusually hot, its fans became loud, or it shut down during demanding workloads, overheating deserves attention.
Don’t repeatedly power-cycle a machine that is shutting itself down immediately. Repeated attempts can make diagnosis harder and may stress already failing hardware.
10. Consider a Recent Change
One of the fastest ways to find a computer problem is to ask:
What changed immediately before this happened?
Think about the previous day or two.
Did you:
- Install new RAM?
- Replace a graphics card?
- Add an SSD?
- Move the desktop?
- Update firmware?
- Install new peripherals?
- Spill liquid?
- Experience a power outage?
- Transport the laptop?
- Install a new charger?
A computer that worked perfectly yesterday but stopped after new hardware was installed provides a very different diagnostic starting point from a machine that gradually developed problems.
The overlooked “move” problem
Physical movement can matter. A desktop that has been transported can develop a loose connection, particularly around internal expansion cards, memory modules, or cables.
That’s why “it stopped working after I moved it” is useful diagnostic information—not merely coincidence.
A Simple Troubleshooting Order
When you need to solve a computer that won’t start, avoid randomly replacing parts. Use a logical sequence.
| Symptom | First things to check | Possible causes |
|---|---|---|
| No lights or fans | Outlet, cable, power switch | Power source, PSU, motherboard |
| Laptop charging light absent | Charger, outlet, charging port | Adapter, port, battery, power circuit |
| Fans run but screen is black | Monitor, cable, RAM, GPU | Display or hardware initialization |
| Turns on then shuts off | Heat, PSU, recent hardware changes | Cooling, power, component fault |
| Starts after several attempts | Power connection, battery, hardware | Intermittent connection or failing component |
| Starts but won’t reach Windows | Storage, boot configuration | SSD/HDD or operating-system issue |
Common Mistakes to Avoid
Troubleshooting can become more difficult when you change too many things at once.
Don’t immediately reset or reinstall Windows
If the computer doesn’t even reach the startup process, reinstalling Windows is unlikely to solve a basic power problem.
Don’t randomly replace expensive components
Replacing the motherboard, CPU, or graphics card without diagnosis can turn a small problem into an expensive guessing game.
Don’t repeatedly force the power button
If the system repeatedly starts and shuts down, investigate the cause rather than continuously forcing it to restart.
Don’t ignore unusual smells or sounds
A burning smell, smoke, sparking, or obvious electrical damage is a reason to stop using the machine and seek qualified repair.
When Should You Stop Troubleshooting?
Some problems are better handled by a technician.
Get professional help if:
- There are signs of liquid damage.
- You smell burning electronics.
- The power supply appears damaged.
- The computer repeatedly shuts down immediately.
- The motherboard shows a persistent hardware error.
- You have already tested the obvious power sources and cables.
- The machine contains important data and you’re unsure what to do next.
If the computer contains irreplaceable files, data preservation should take priority over experimentation. Avoid repeatedly opening, formatting, resetting, or replacing storage hardware before considering how important the files are.
Frequently Asked Questions
Why won’t my computer turn on but the power light is on?
A power light means the computer is receiving at least some electrical power, but it doesn’t prove that the system has successfully started. Check the display, monitor cable, RAM, graphics hardware, and diagnostic indicators. If fans and other components are running, focus on startup or display troubleshooting rather than the wall outlet.
What should I do if my laptop won’t turn on or charge?
Start by testing the wall outlet and inspecting the charger connection. Perform a power reset by disconnecting the charger and holding the power button for around 20–30 seconds, then reconnect the charger. If there is still no charging indicator or response, the charger, charging port, battery, or internal power circuitry may require professional diagnosis.
Can a bad power supply cause a computer not to turn on?
Yes. A failed desktop power supply can prevent the entire system from showing any signs of life. Before replacing it, verify the outlet, power cable, and PSU switch. If those are working and the computer remains completely unresponsive, professional PSU testing can help confirm the diagnosis.
Why does my computer turn on but show a black screen?
A black screen doesn’t necessarily mean the computer is off. Check whether fans, lights, or other startup activity are present, then verify the monitor input and display cable. If the system powers on but cannot produce an image, RAM, graphics hardware, display connections, or other startup components may be involved.
Should I reset my computer if it won’t turn on?
Usually, no. If the computer cannot power on at all, a Windows reset won’t address the underlying electrical or hardware problem. First determine whether the machine is receiving power and whether it reaches the startup process. Operating-system recovery becomes relevant only after the hardware successfully powers on.
Conclusion
When your computer won’t turn on, the most useful approach is not to panic or start replacing parts. Begin with the basics: verify the outlet, cables, charger, power switch, and connections. Then determine whether the machine is truly receiving no power or whether it is powering on without displaying anything.
From there, use the symptoms to narrow the problem down. A power reset can resolve certain stuck states, disconnected peripherals can eliminate external causes, and diagnostic lights or beep codes can provide valuable clues. For desktops, the power supply deserves attention when there is complete silence, while RAM and graphics hardware become more relevant when fans and lights work but the screen remains blank.
Most importantly, change one thing at a time and observe what happens. That simple habit turns frustrating trial-and-error into a much more reliable troubleshooting process. And if you encounter electrical damage, liquid damage, burning smells, or a situation involving important data, stopping early and getting professional help is often the safest solution.
